

IoT for the .NET Developer


In this blog post, we are going to start the process of developing an Internet of Things (IoT) solution using .NET 7 on a Raspberry Pi.
IoT systems often run a lightweight Linux OS and leverage ARM hardware with low-power processors and have small amounts of RAM and limited storage. A typical IoT device will be designed around a very specific use case such as monitoring a sensor and sending measurements back to a cloud-based solution.
For example: imagine an underground aquifer that needs to be monitored. A solution could be based on a water level meter. The rest of the device would be a system on a chip and a 3/4G comms device that allows the device to post data to a cloud-based solution. This will be the use case that we explore in this series of blog posts and videos.
Traditionally .NET was not a popular choice to be used in a constrained environment like IoT devices. These devices would not be able to run the older .NET Framework as they would not be capable of running Windows. Even with .NET Core and .net 5/6 the devices would not have sufficient storage to have the full .NET Runtime installed, and the limited computing power and memory means that the Just In Time compilation for a typical .NET application would be impractical.
However.NET 7 and Native Ahead of Time (NativeAoT) compilation means that .NET can now be used as a development tool for these constrained devices.
For prototyping the solution I will use a Raspberry Pi 4 Revision B, however, any similar device should be able to be used. The Raspberry Pi has had a fresh copy of the OS installed, and the only changes to the default configuration are that the WiFi has been connected, and the system has been configured to allow SSH access to the Pi.
Installing .NET
To install .NET 7 on the device, start by logging into the unit via SSH. In the PowerShell command prompt type the following command:
ssh {Username}@{DNS Name}

Once you have connected to the Raspberry Pi, you will have a standard bash shell that you can use to install .NET 7 from the command line. Installing .NET 7 can be done through the use of a Script that Microsoft provides.
Enter the following command at the SSH command shell:
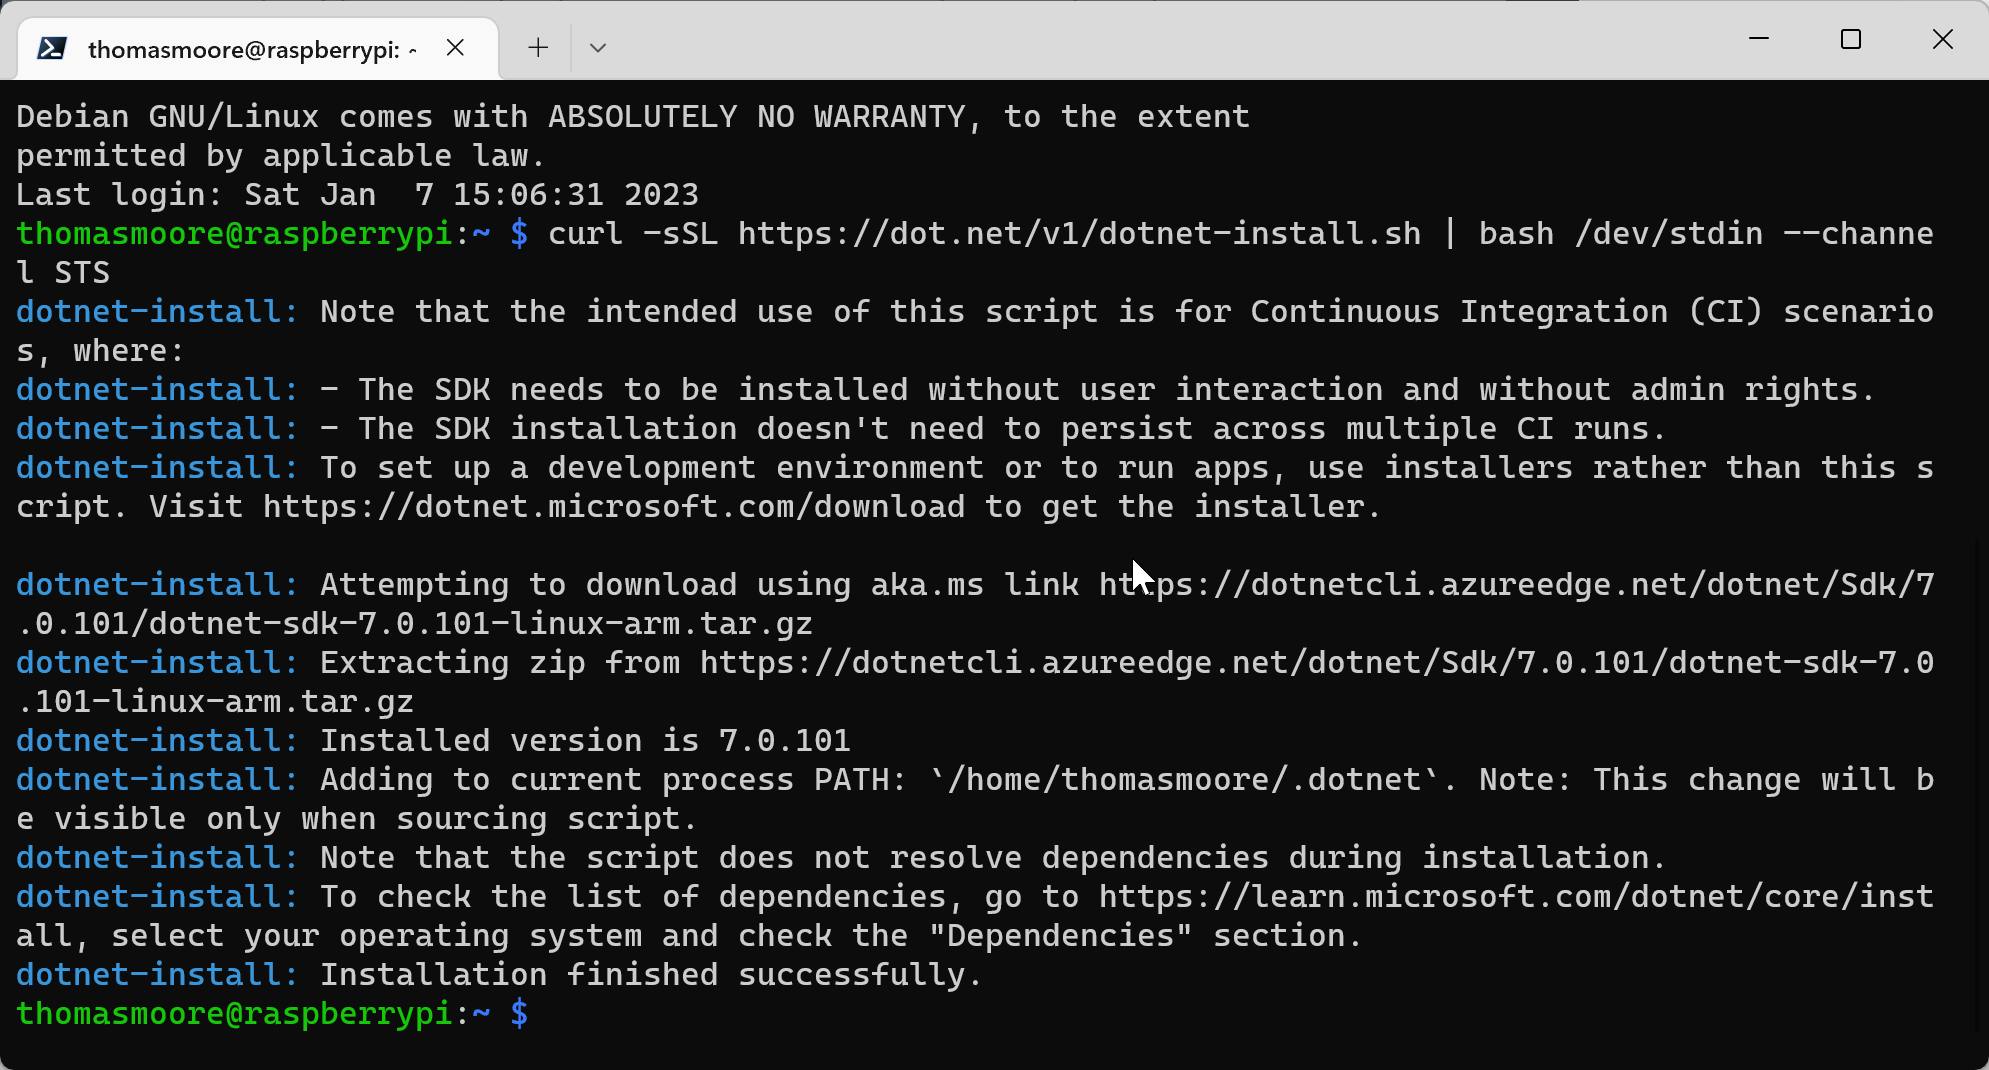
curl -sSL https://dot.net/v1/dotnet-install.sh | bash /dev/stdin --channel STS
The final portion of the command line specifies the channel that you will be using to get .NET from. This command will use the Short Term support channel, allowing you to download and install .NET 7. If you need to stay with only Long Term supported released, you can change the STS channel to LTS.
This command will automatically download the .NET SDK and extract the files.
Once the files have been installed, the final remaining step in getting .NET 7 set up and configured is to update your .bashrc file with the environment variables. Enter the following commands at the command prompt to update your environment.
echo 'export DOTNET_ROOT=$HOME/.dotnet' >> ~/.bashrc
echo 'export PATH=$PATH:$HOME/.dotnet' >> ~/.bashrc
source ~/.bashrc
Once you have completed these steps, you will have .NET 7 installed and ready to run. You can test the installation to make sure everything is working correctly by typing the following at the command prompt:
dotnet --version
You should see the following output:

From the command prompt type the following Commands:
cd Documents
mkdir src
cd src
mkdir DotNetTest
cd DotNetTest
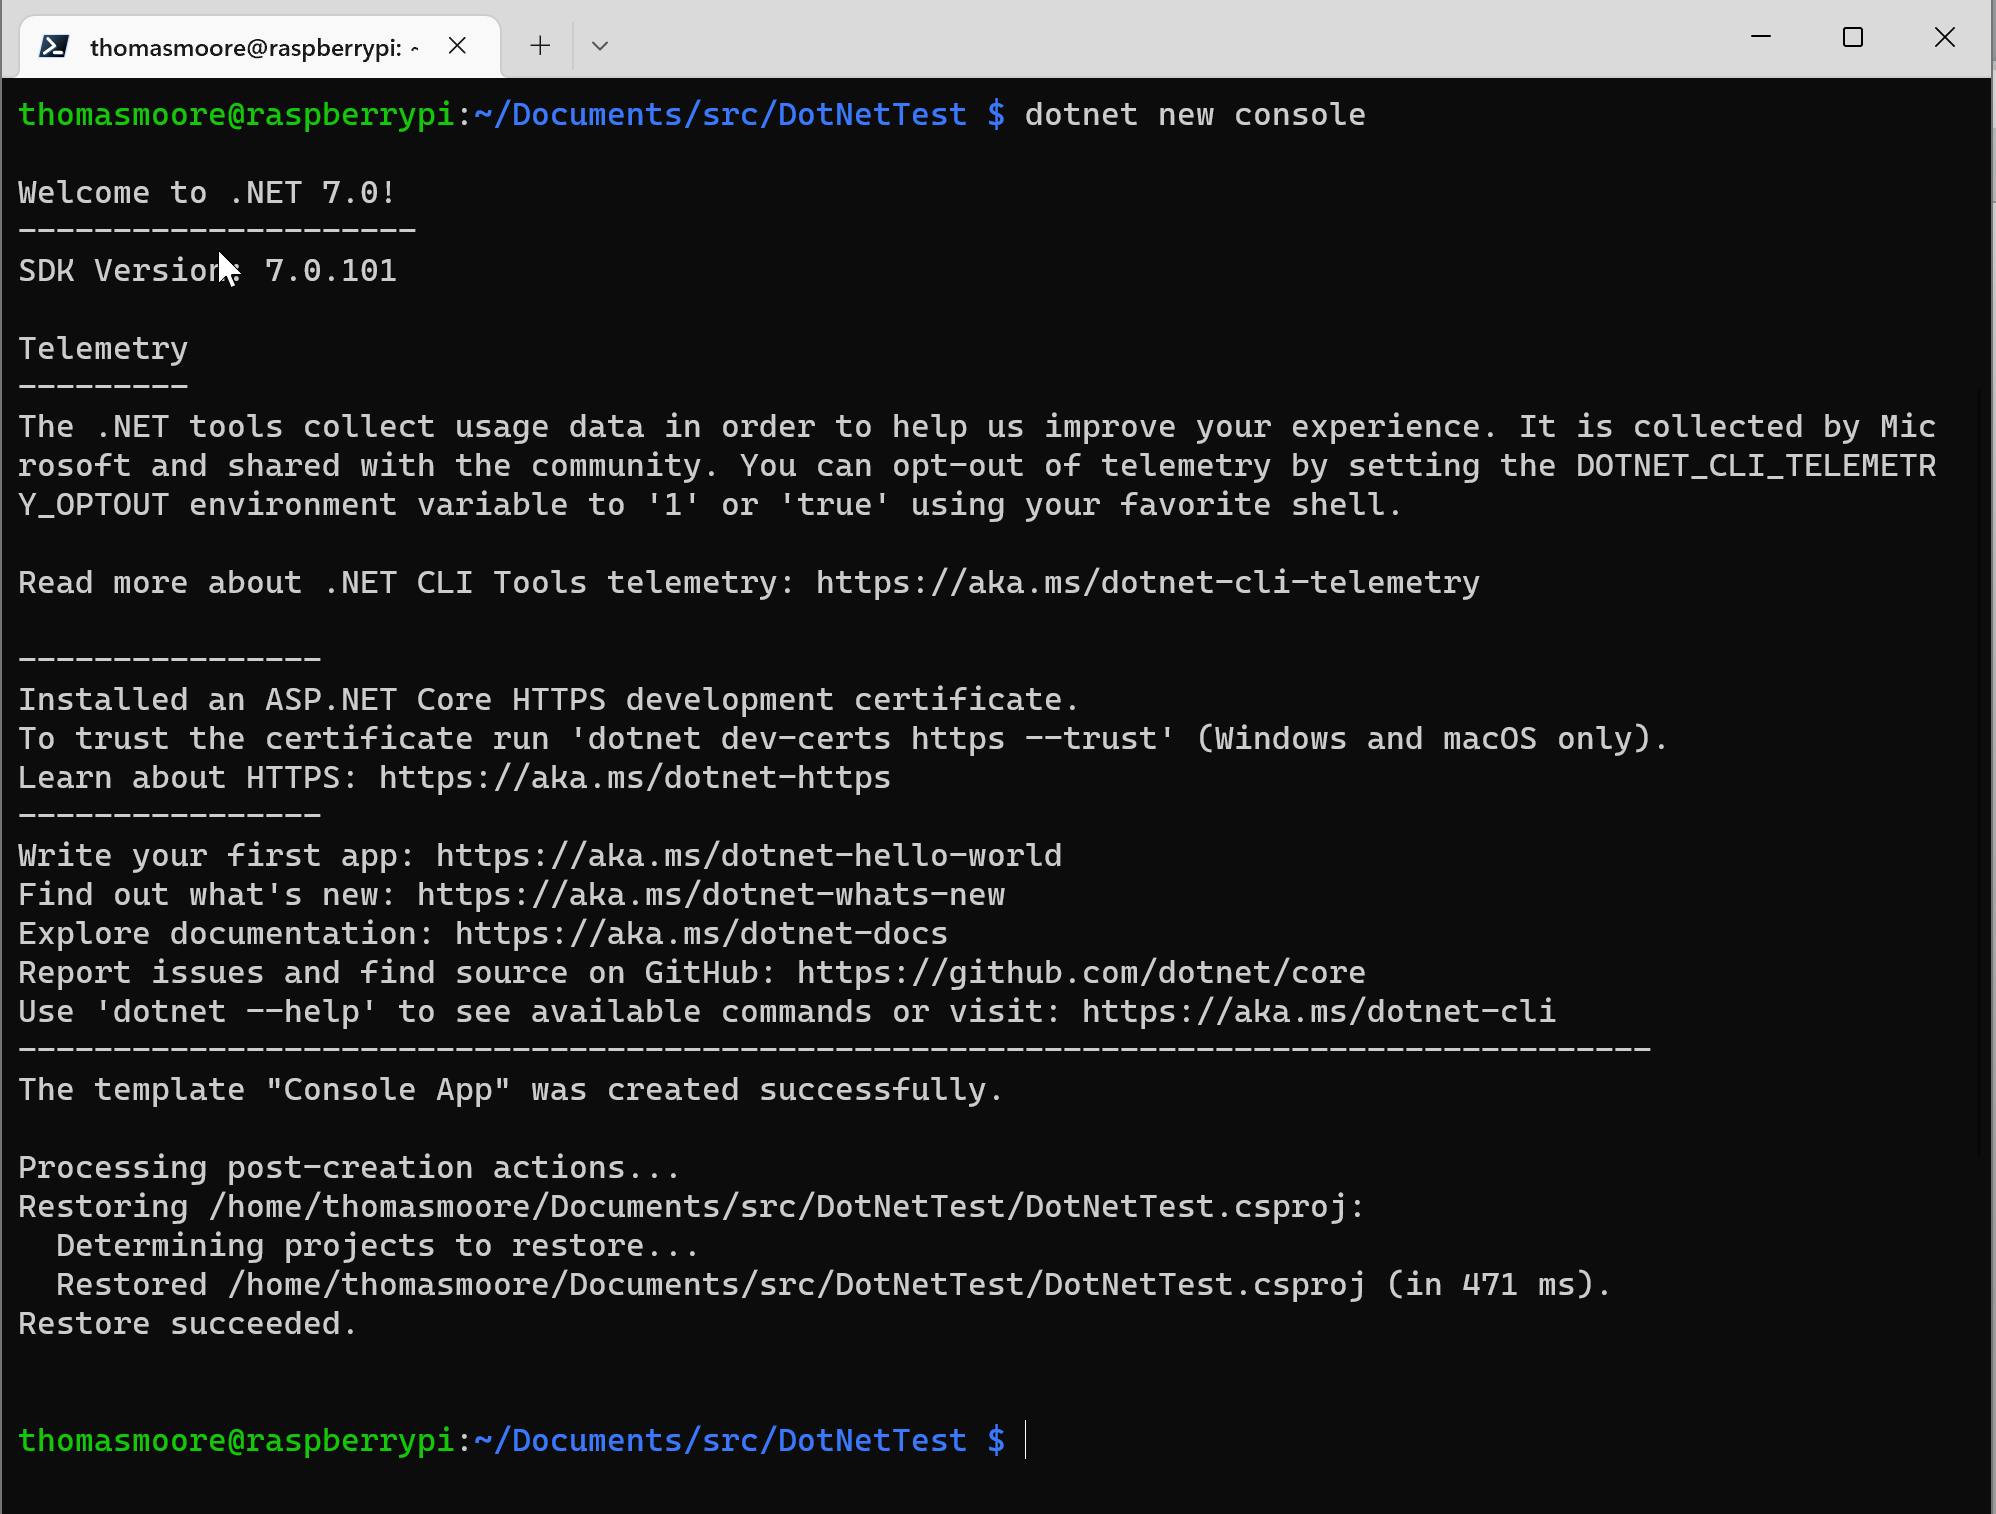
Once you are in the DotNetTest folder, create a new .NET 7 console application by typing the following command:
dotnet new console
Setting up remote code editing:
To develop our .NET applications it would be helpful to be able to use Visual Studio Code from our local machine and edit the code remotely. Visual Studio code makes this very easy to accomplish.
Start Visual Studio Code on your local machine. When visual Studio stars, select the Extensions option on the left, then type "remote" in the search window.
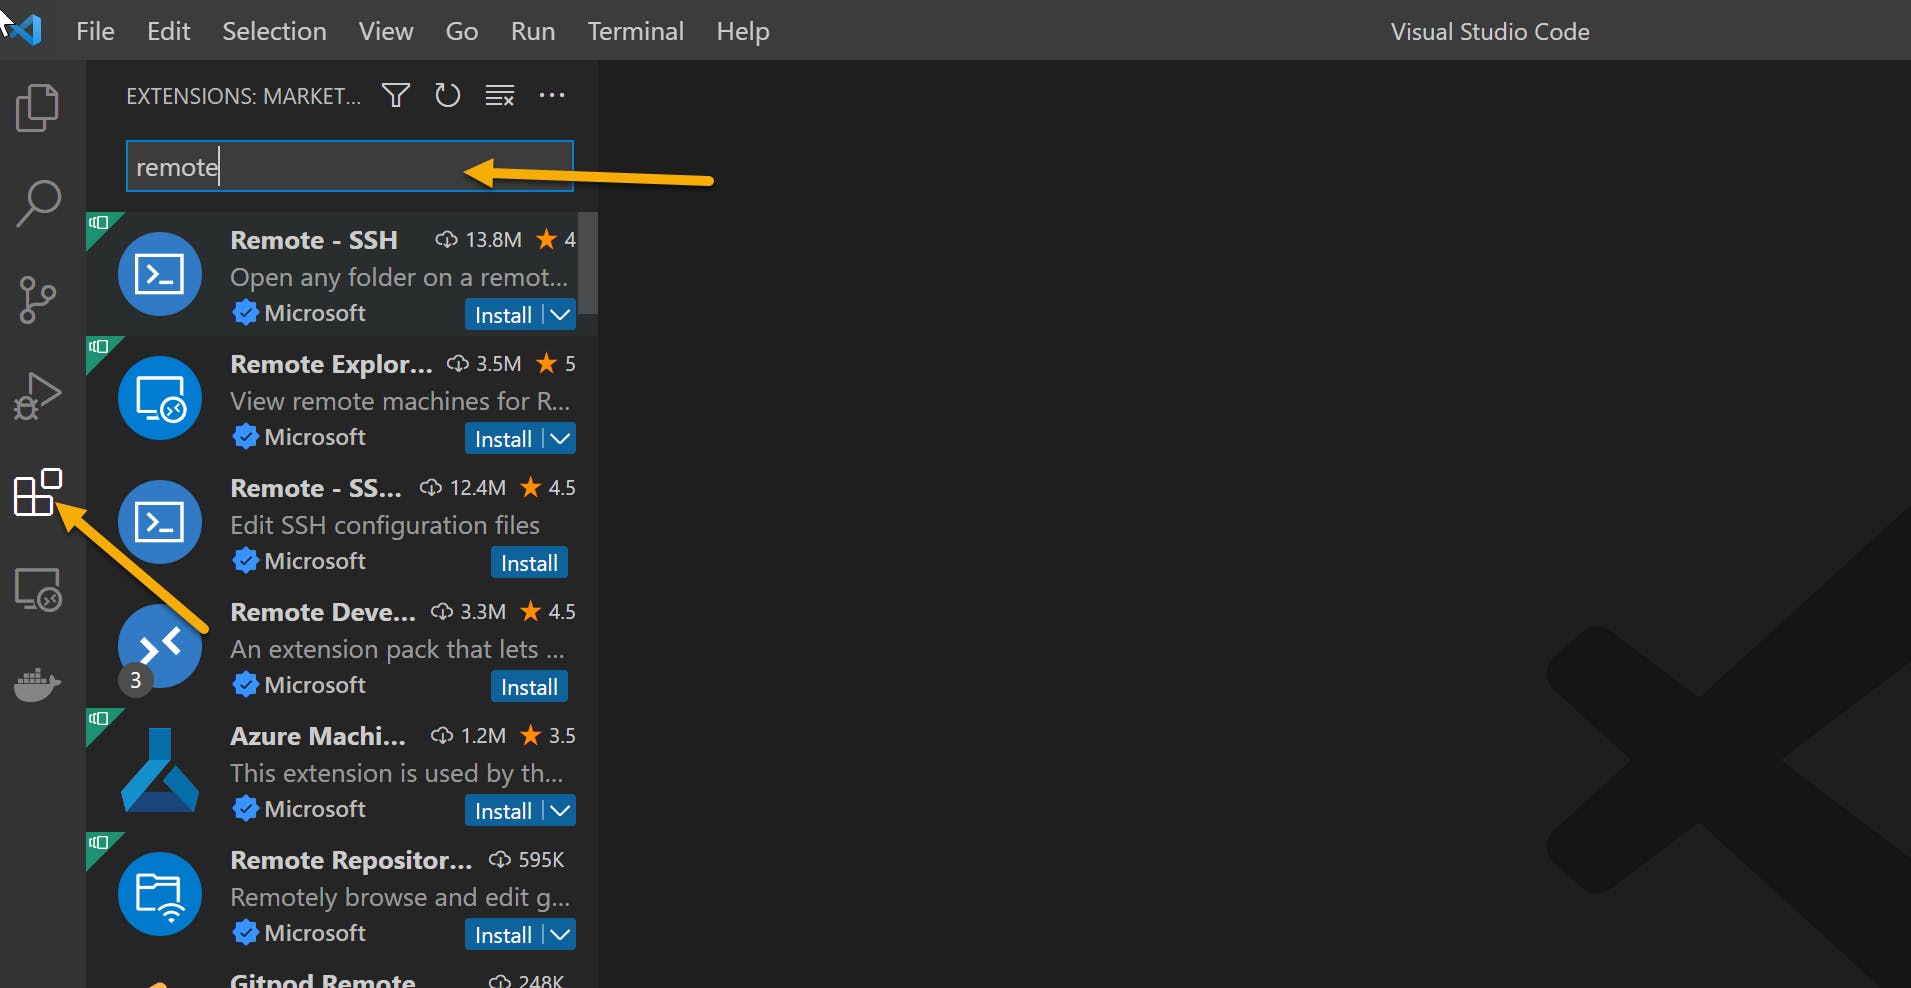
Install the "Remote - SSH" extension.
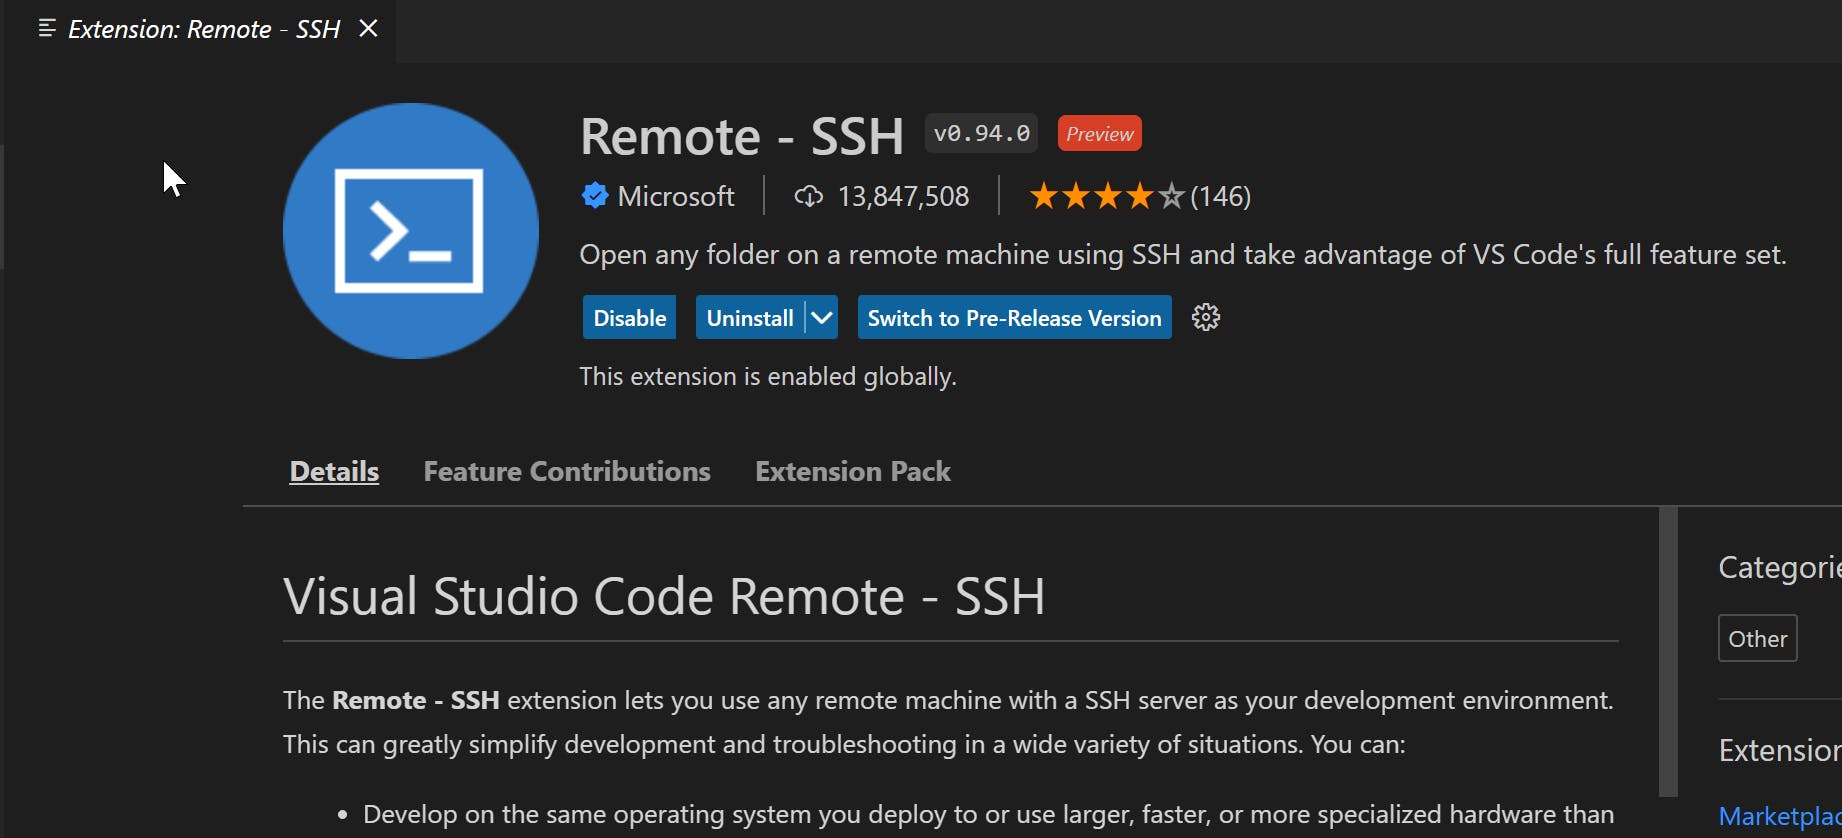
This extension will allow you to edit code on the Raspberry Pi remotely, from your laptop.
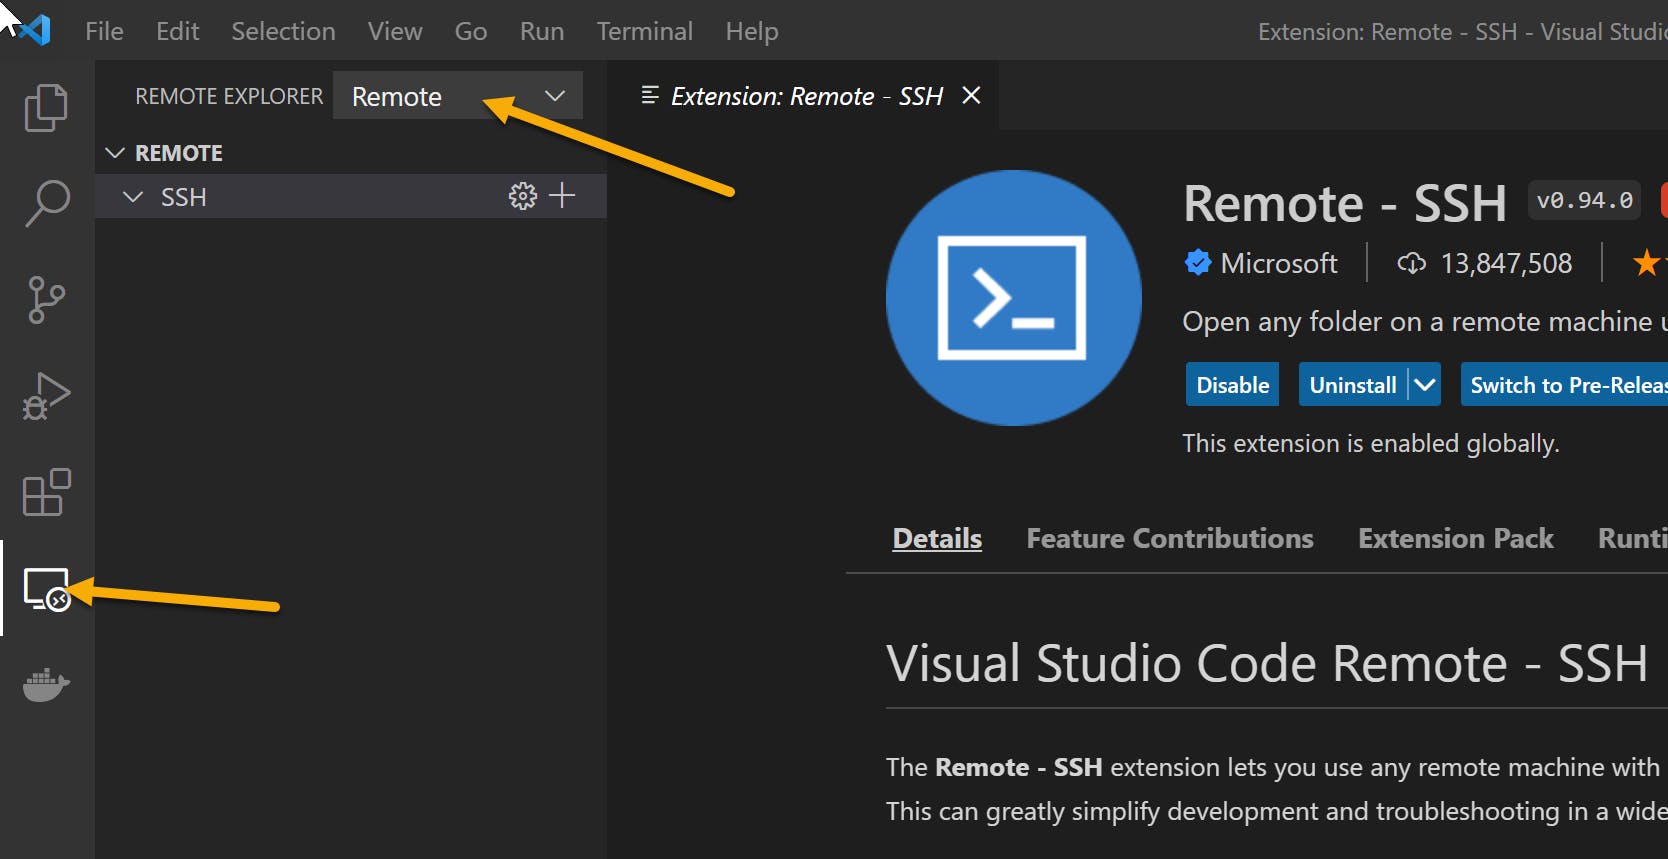
Select Remote from the left-hand navigation panel. At the top of the Remote Explorer, make sure the option for 'Remote' is selected, and not 'Containers.' You will now be able to create a new connection to the Raspberry Pi from inside of Visual Studio Code.
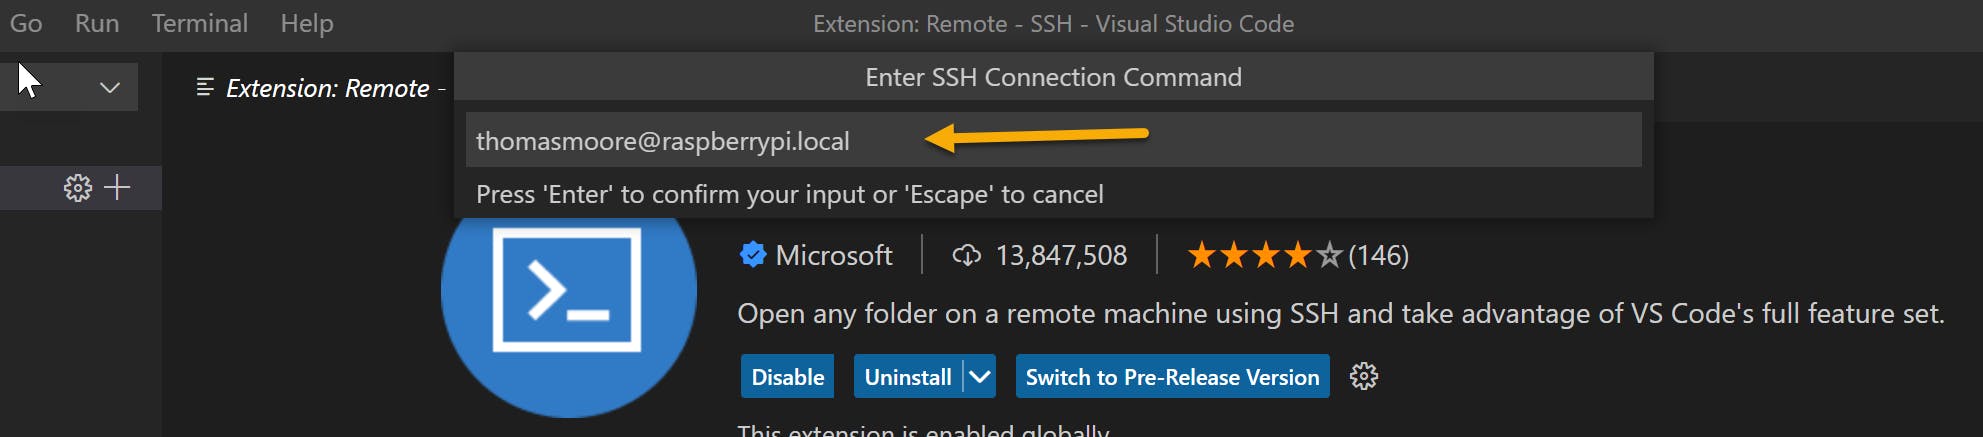
Click the + button next to SSH, and enter the same details that you entered in when you connected via SSH to install .NET.
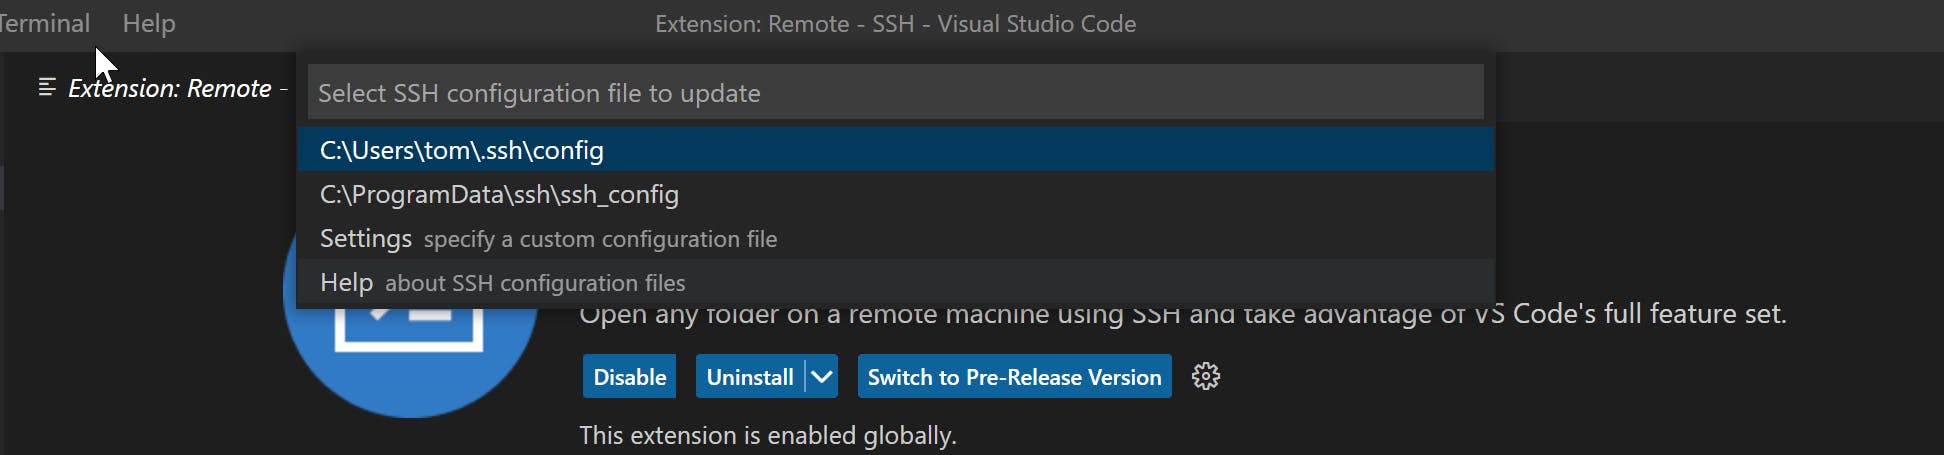
Select the default option to store your SSH configuration:
You will then be prompted for the password to connect to the Raspberry PI. Enter in the password in order to connect. The first time you connect to the server, Visual Studio Code will install the server-side components onto the Raspberry Pi.

Once the installation has been completed, you can select the File Explorer option on the left navigation panel, then click Open Folder. You can then select from the available folders in the drop-down list shown. This is the folder list on the remote Raspberry Pi. Select Documents from the dropdown list.

You may be required to confirm your password when connecting to a folder.
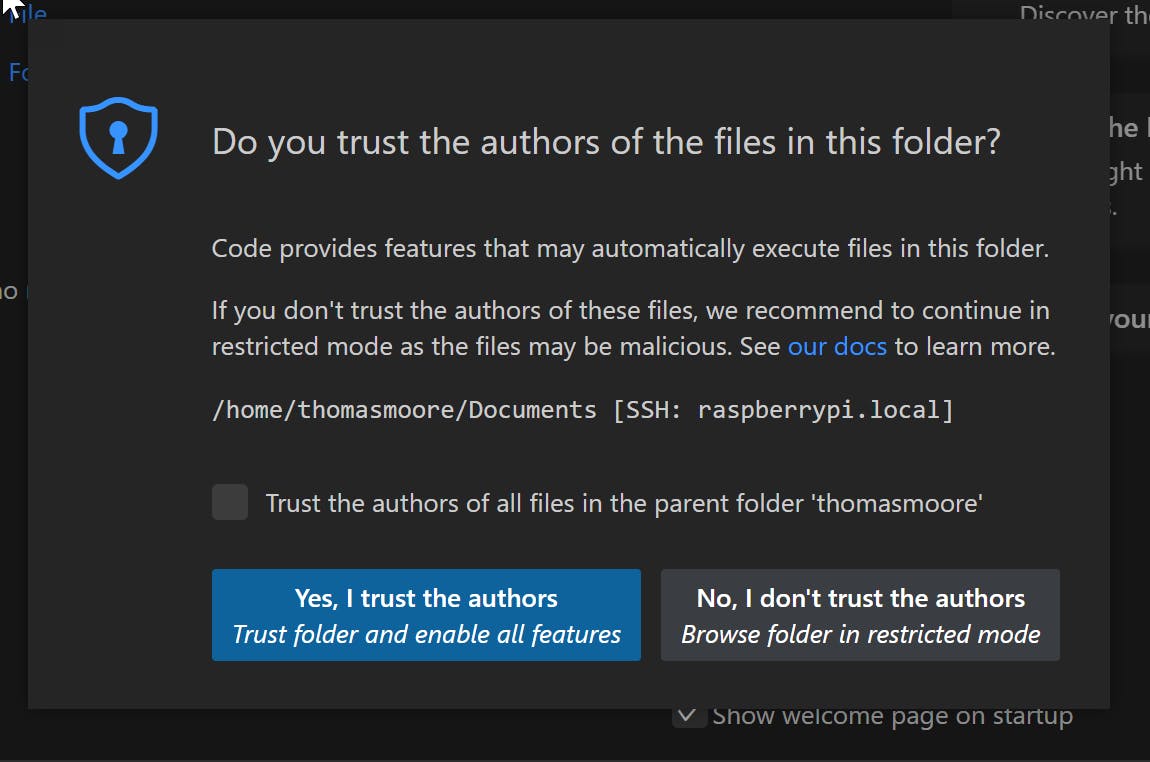
The first time you successfully connect you will be prompted to confirm rather or not you trust the authors of the files.
You can now browse and edit the source files on the remote machine from your laptop.

You can see here, the files that were created when we created the new console application earlier.
Conclusion
Installing .NET 7 on the Raspberry Pi is a fairly straightforward process, that will allow you to start developing IoT applications using .NET 7. Once this has been completed you are now ready to move on to building an IoT solution.
I run through this process on my YouTube channel as a companion to this blog post. This video will guide you through the process visually. Check it out on the Basement Programmer Youtube Channel